Here you can find the resources we are developing for the journey. Many of these are linked to the smartphone app.
213 resources were found:
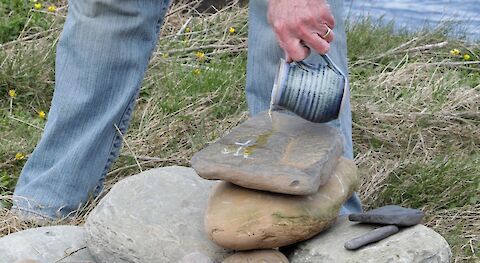
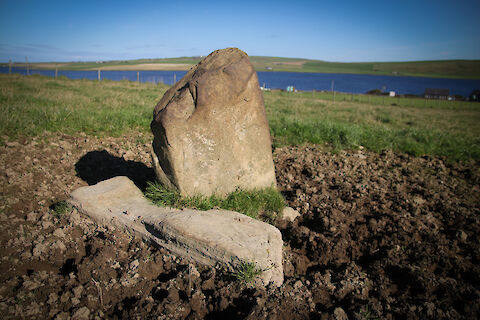
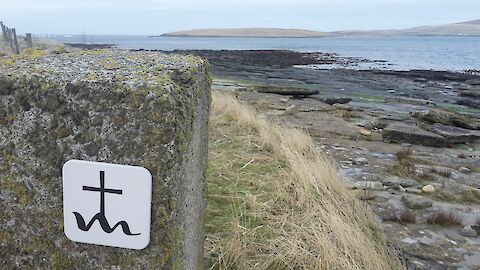
Photograph of the stone cairn at the start of the mainland pilgrimage
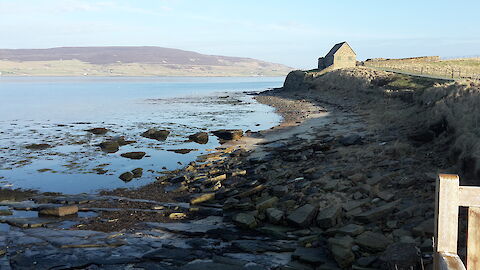
Photograph of the view to the east from Gurness
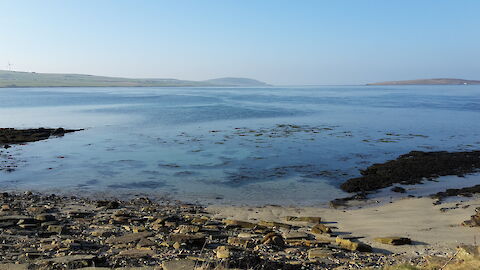
Photograph of the view to the west from Gurness, taken from the beach
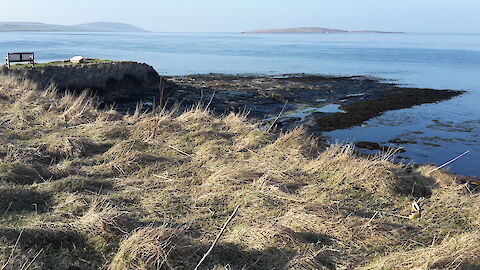
Photograph of the view to the west from Gurness

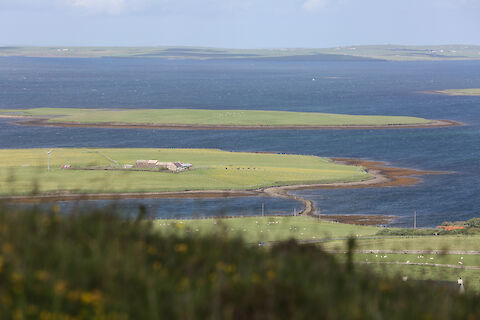
Photograph looking west from Aikerness to Costa
An overview of the island of Eynhallow
An overview of the island of Eynhallow
Photograph of the view from Costa towards Birsay
Looking west across Aikerness to Costa Hill.
The Mansie Stane at Strathyre
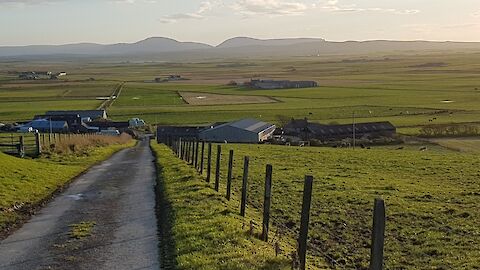
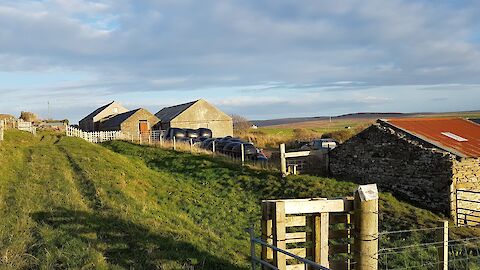
View from North Bigging towards Kingshouse
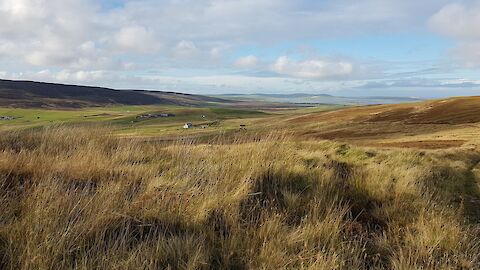
VIew of the Knowes of Conyar from the Old Drover's Track
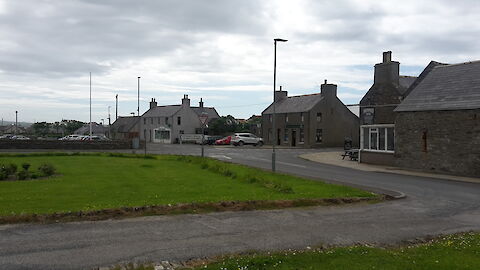
View of Dounby crossroads from the picnic tables opposite the Smithfield Hotel.
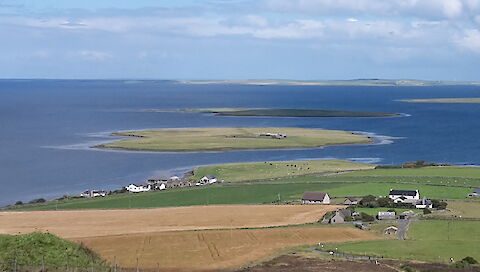
Photo of Damsay with the Holm of Grimbister in front.
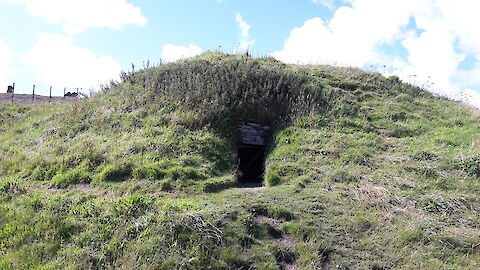
Photo of Cuween tomb.
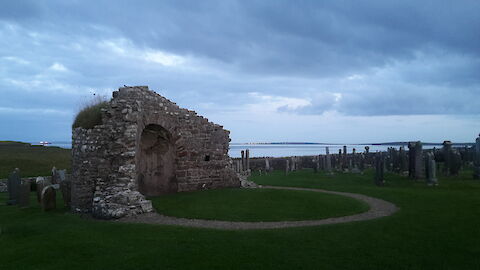
Photo of the Round Kirk at Orphir.
Photograph of Firth Bay, with the Holm of Grimbister and Damsay beyond it.

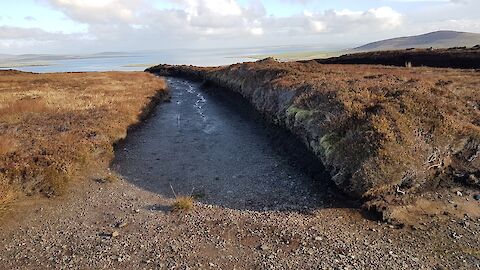
Photograph of the steps below Hobbister.
Photograph of Waulkmill and Scapa Flow.
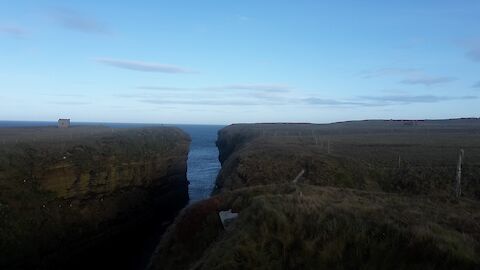
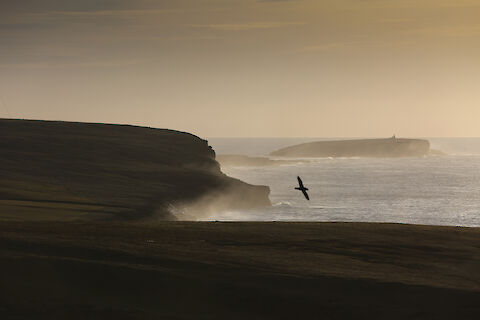
Photo of the geo at Grip east of Whitaloo Point.
Looking back across the fisherman's hut towards Northside.
Looking northeast from Grip Geo.
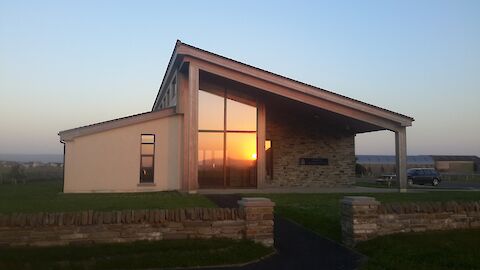
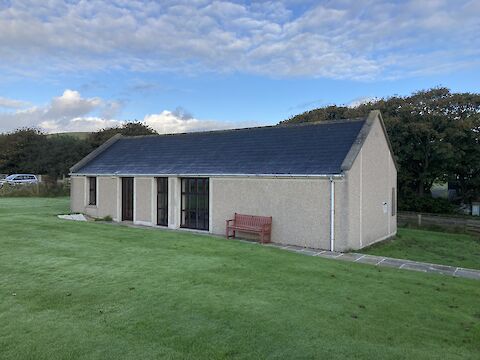
Sunset reflected in Milestone Community Church.
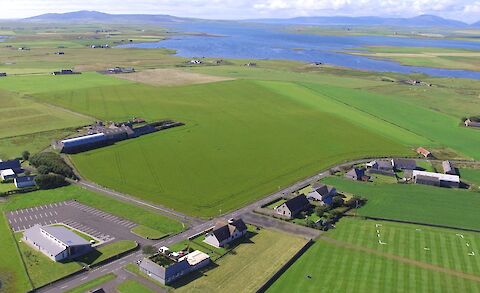
Image of Milestone Community Church (bottom left) from above.
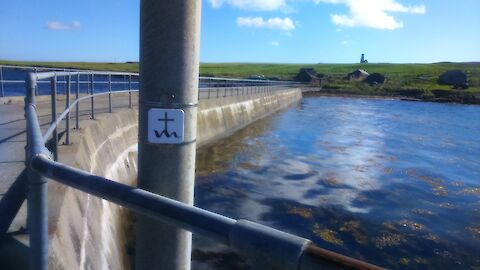
View of Egilsay Pier with St Magnus Church on the skyline.
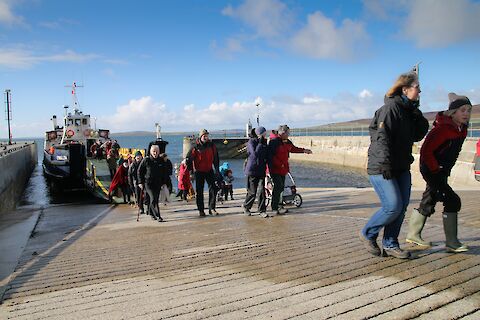
Pilgrims disembarking from the MV Eynhallow at Egilsay.
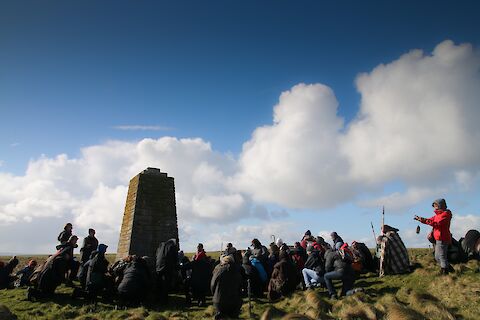
Pilgrims kneeling in honour of Magnus on the 900th anniversary of his death.
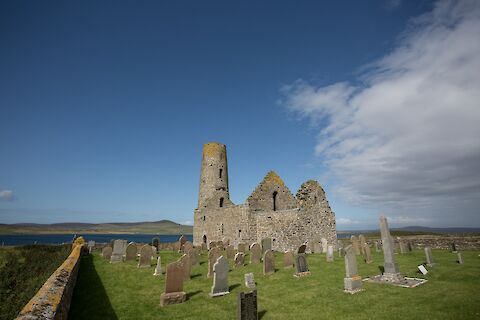
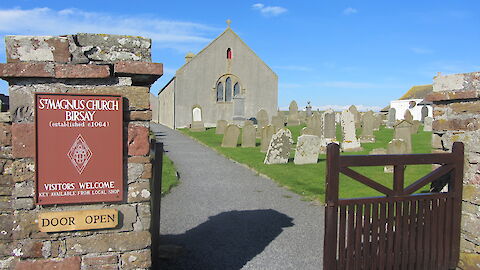
View of St Magnus Egilsay and graveyard, looking across to Rousay.
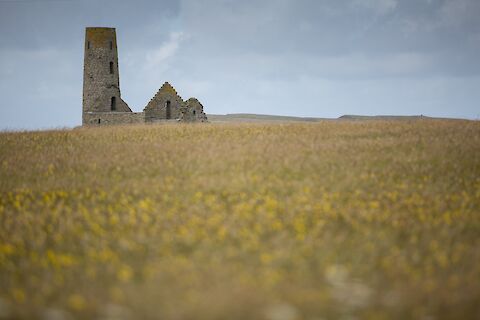
St Magnus Church, Egilsay across a field of summer flowers.
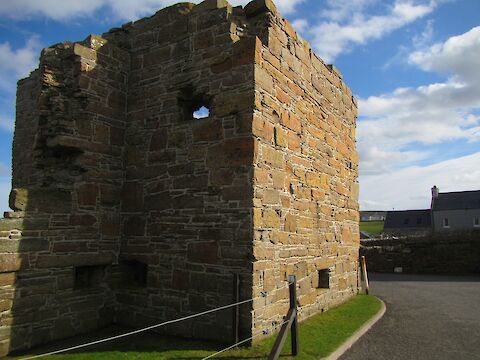
Earls Palace, Birsay, from the road as you walk in to the Palace.

Bridge over the Burn of Swannay
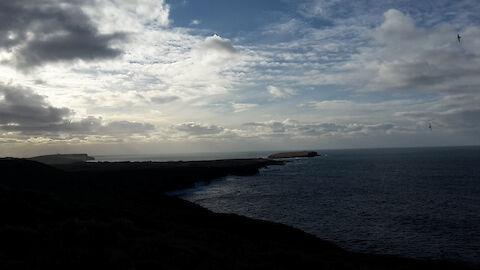
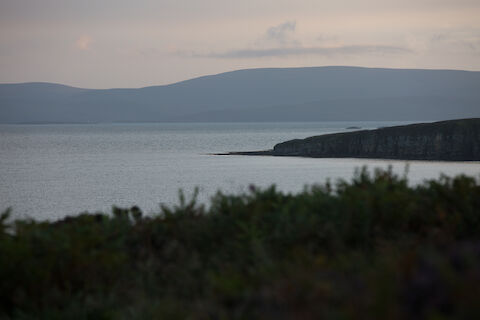
Looking from the coast across to Eynhyallow before the track turns up to the road again.
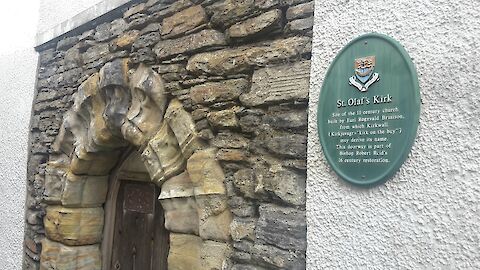
Photograph of the site of St Olaf's Kirk, from the 11th century, with part of the 16th century restoration.
View of the Brough of Birsay from St Magnus Church.
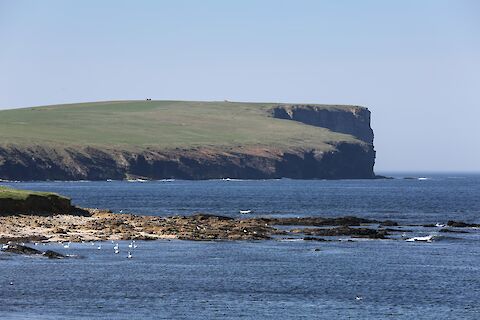
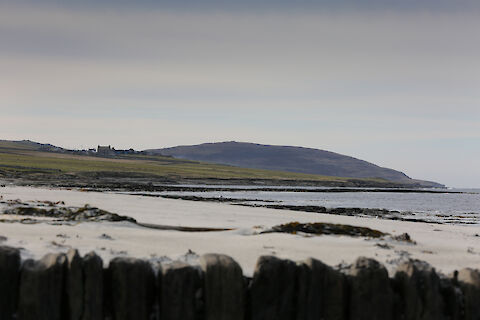
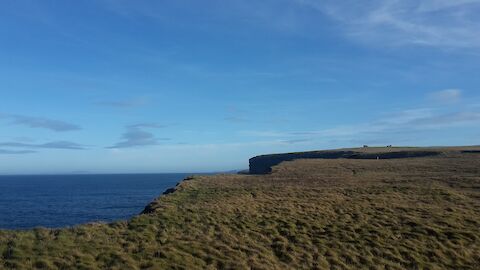
View of the Brough of Birsay from the Northside coast.

View of the Brough of Birsay from the summit of Costa Hill.
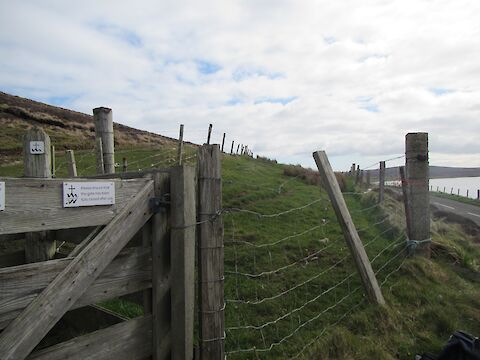
Photo of Gate leading to Costa Hill from the Loch of Swannay.
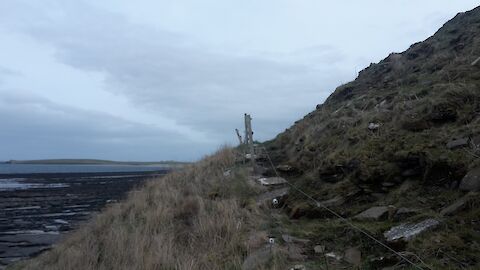
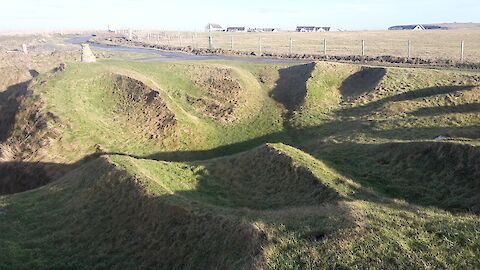
Photo of the Knowe of Stenso, a possible broch site.
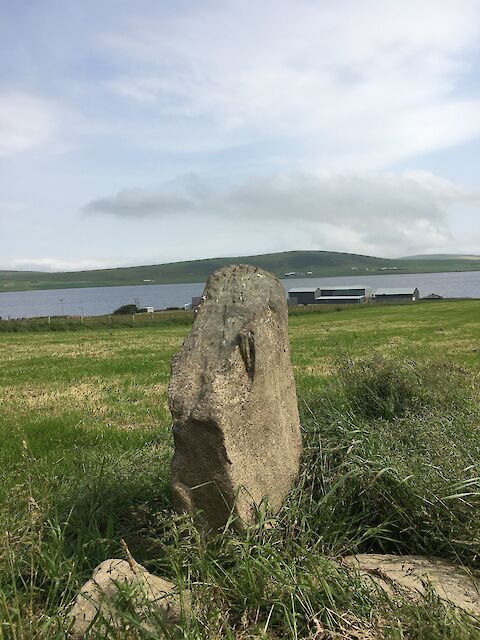
A photograph of the Mans Stane at Strathyre.
Photograph of Kirbister, Orphir.
Photograph of Lyradale.
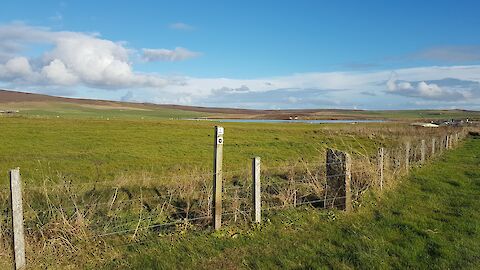
Photograph of Kirbuster Waypoint.
Photograph of the Midhouse Waypoint.
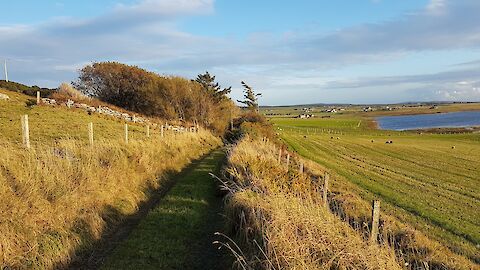
Photo of Nether Fea.
Photograph of Cloke Waypoint.
The Orkneying Saga Centre, Orphir
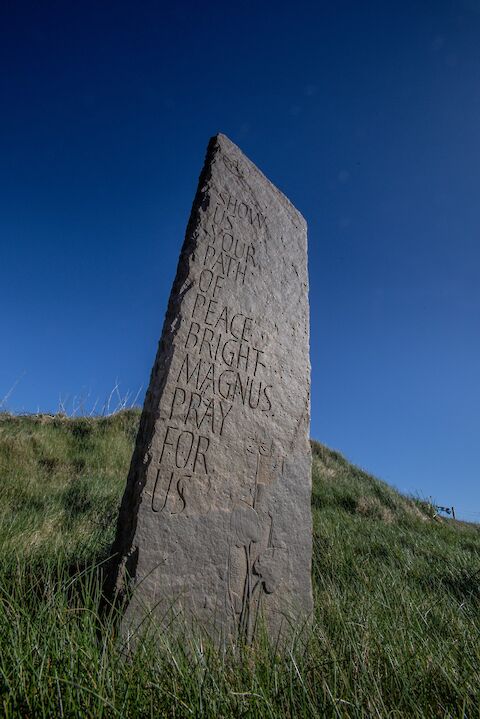
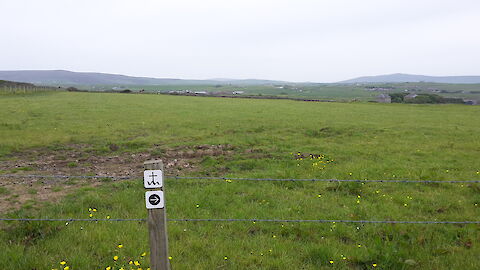
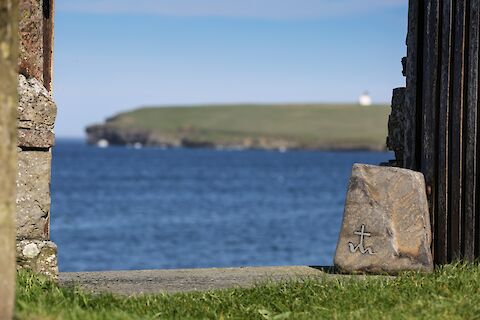
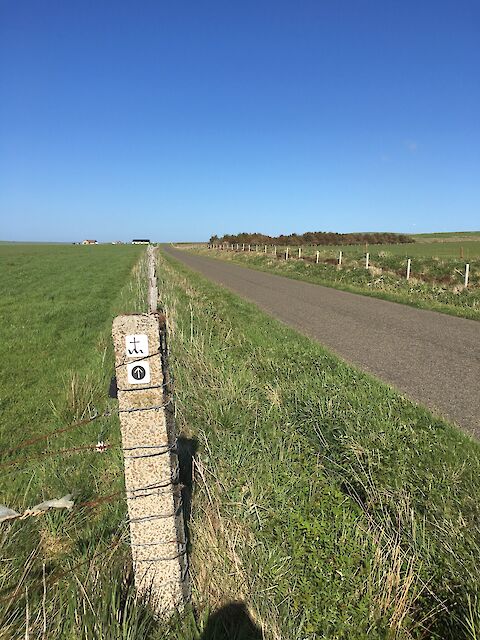
The marker stone at the start of the St Magnus Way
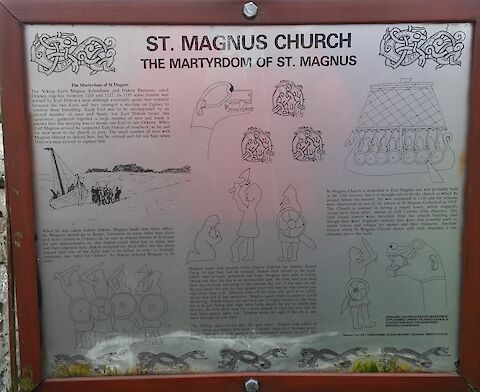
St Magnus Kirk, Egilsay information sign
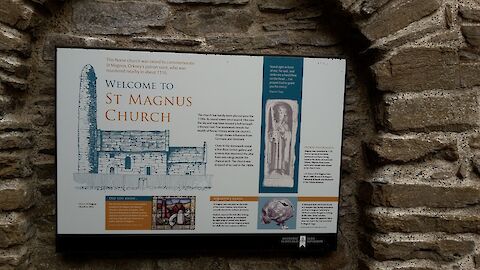
St Magnus Church Egilsay Welcome sign
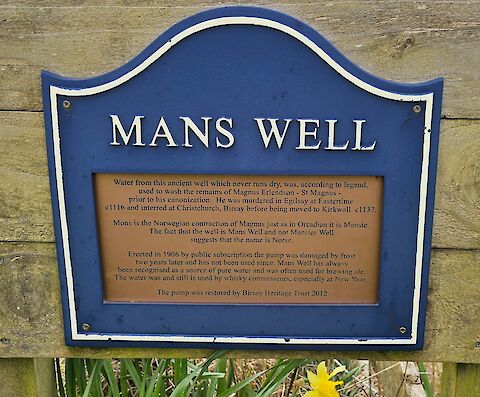
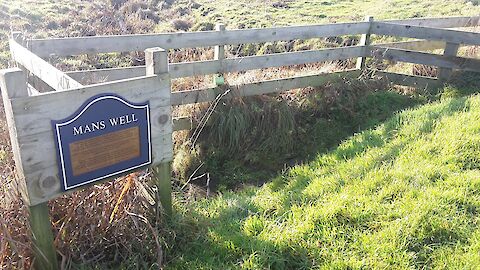
Mans Well plaque
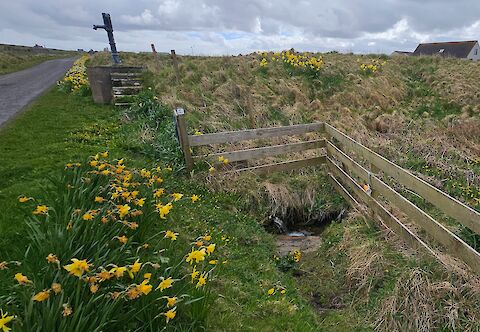
Site of the Mans Well, restored by Birsay Heritage Trust in 2012.
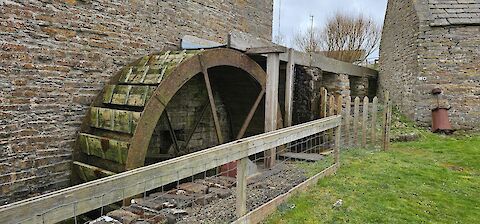
Barony Mill is active and grinds bere meal, an ancient grain similar to barley, during the winter.